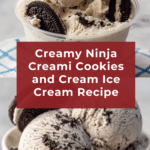
Ninja Creami Cookies and Cream Ice Cream Recipe
Introduction
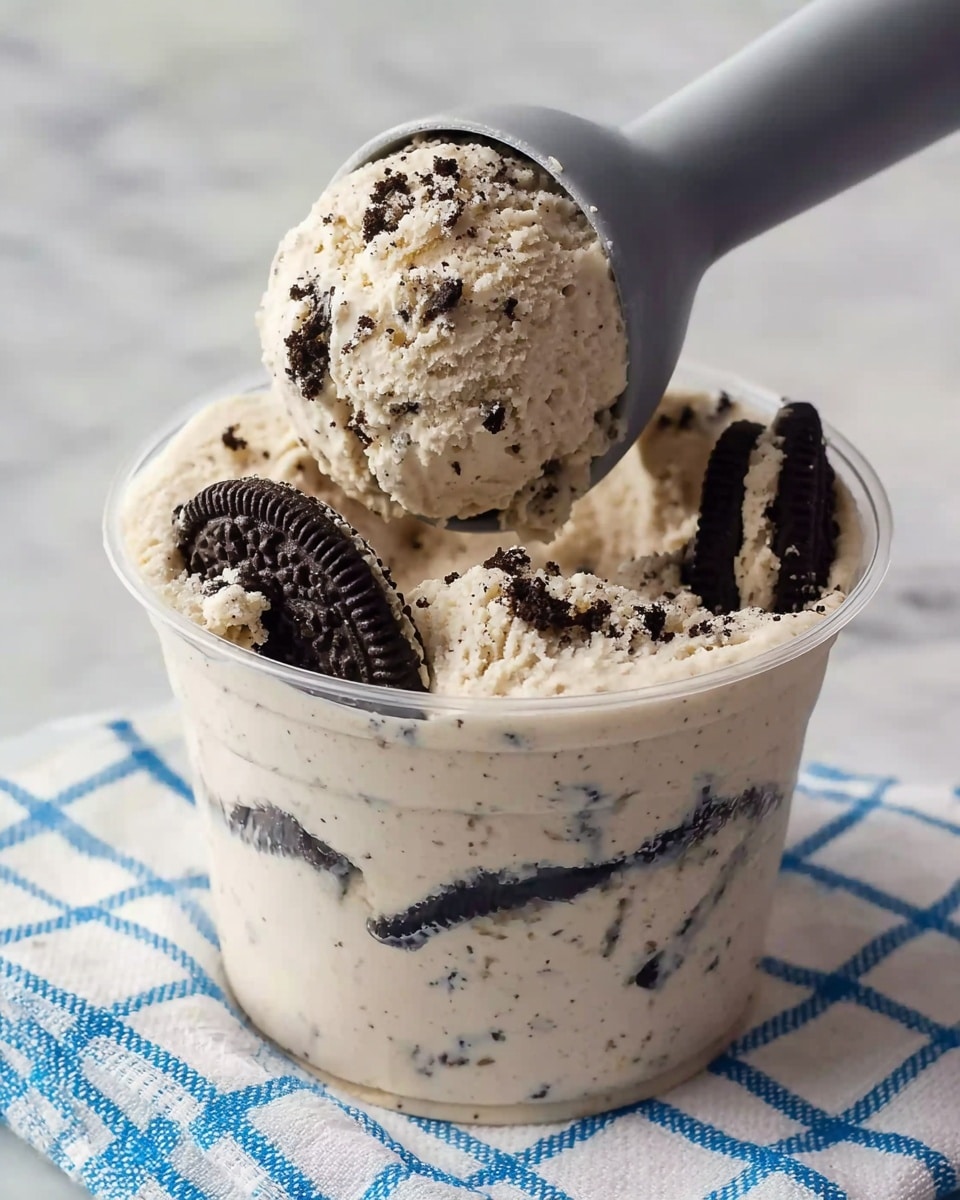
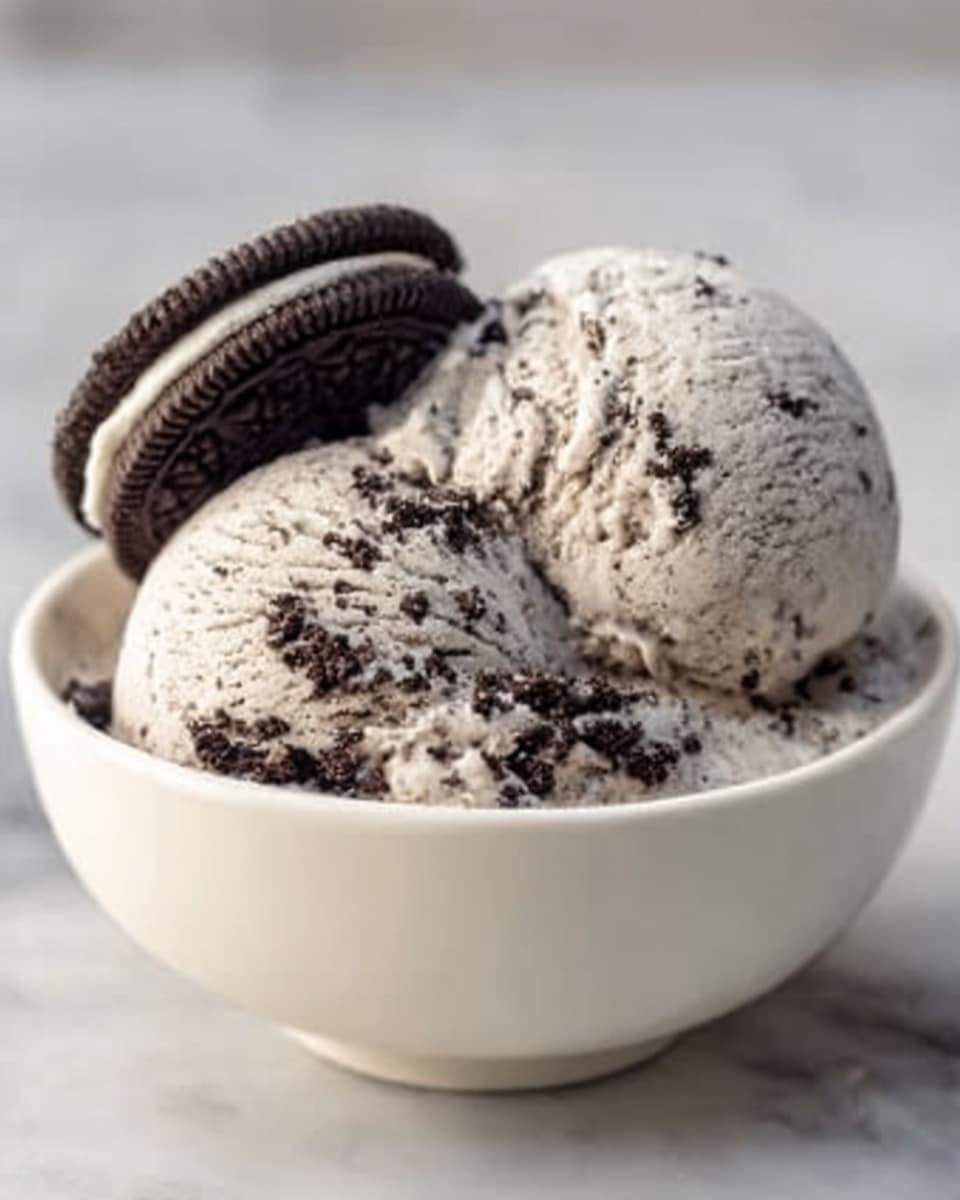
This Ninja Creami Cookies and Cream Ice Cream is a simple, delicious treat that you can make at home with just a few ingredients. It combines a rich vanilla base with chunks of Oreo cookies for the perfect creamy texture and delightful crunch.
Ingredients
- ½ cup heavy whipping cream
- 1¼ cups whole milk
- 1 tsp vanilla extract
- ⅓ cup powdered sugar
- 3 Oreo cookies (halved)
Instructions
- Step 1: Add the heavy whipping cream, whole milk, powdered sugar, and vanilla extract to a blender. Blend for 10-15 seconds until all ingredients are fully combined.
- Step 2: Pour the blended ice cream base into a Ninja Creami pint container, making sure not to fill past the MAX FILL line to allow for proper churning and expansion.
- Step 3: Secure the lid on the pint container and place it upright in your freezer. Freeze for at least 24 hours until completely solid.
- Step 4: Remove the pint from the freezer and take off the lid. Insert the pint into the Ninja Creami bowl assembly, secure the outer lid, and lock it onto the motor base by turning it to the right. Press the “Ice Cream” button to start churning.
- Step 5: If the ice cream is dry or powdery after churning, make a small well in the center using a spoon and add 1 tablespoon of milk or cream. Replace the outer lid and press the “RE-SPIN” button for a smoother texture.
- Step 6: Create a well in the center of the churned ice cream down to the bottom of the pint. Place the halved Oreo cookies into the well, secure the lid, and select the “MIX-IN” function to evenly incorporate the cookies.
- Step 7: Serve immediately for the creamiest texture and enjoy your homemade Ninja Creami Cookies and Cream Ice Cream.
Tips & Variations
- Use full-fat dairy for the creamiest results and avoid icy texture.
- Try swapping Oreos for other favorite cookies or mix-ins like chocolate chips or nuts.
- If you want a stronger vanilla flavor, increase the vanilla extract to 1½ teaspoons.
Storage
Store the ice cream in the Ninja Creami pint container with the lid tightly secured. Keep it frozen for up to 1 week. When ready to eat, let it soften for a few minutes at room temperature for easier scooping.
How to Serve
Serve this delicious recipe with your favorite sides.
FAQs
Can I use low-fat milk instead of whole milk?
Whole milk is recommended to ensure a creamy texture, but you can use low-fat milk; just expect a slightly less rich and creamy ice cream.
Do I need to freeze the mixture for 24 hours?
Yes, freezing the mixture for at least 24 hours is essential to get the right solid consistency for the Ninja Creami machine to properly churn the ice cream.
PrintNinja Creami Cookies and Cream Ice Cream Recipe

This delightful Ninja Creami Cookies and Cream Ice Cream recipe combines rich heavy whipping cream, whole milk, and sweet vanilla with crushed Oreo cookies for a creamy, indulgent homemade treat. Made easily with the Ninja Creami ice cream maker, this ice cream offers a perfect balance of creamy texture and cookie crunch, perfect for dessert lovers seeking a quick and delicious frozen treat.
- Prep Time: 10 minutes
- Cook Time: 24 hours (freezing time)
- Total Time: 24 hours 10 minutes
- Yield: About 1 pint (4 servings) 1x
- Category: Dessert
- Method: Blending
- Cuisine: American
Ingredients
Ice Cream Base
- ½ cup heavy whipping cream
- 1¼ cups whole milk
- 1 tsp vanilla extract
- ⅓ cup powdered sugar
Mix-Ins
- 3 Oreo cookies (halved)
Instructions
- Mix the Ingredients: Add the heavy whipping cream, whole milk, powdered sugar, and vanilla extract into a blender. Blend for 10-15 seconds until the mixture is smooth and all ingredients are fully combined.
- Fill the Container: Pour the blended ice cream base into the Ninja Creami pint container, ensuring not to exceed the MAX FILL line. This prevents overflow and allows the mixture to expand during freezing.
- Freeze: Secure the lid tightly on the pint container and place it upright on a flat surface inside your freezer. Freeze the mixture for at least 24 hours or until completely solidified.
- Churn: After freezing, remove the pint from the freezer and discard the lid. Insert the pint into the Ninja Creami bowl assembly, secure the outer lid, and lock it onto the motor base by turning it right. Press the “Ice Cream” button to churn the ice cream into a creamy texture.
- Re-Spin (Optional): If the ice cream appears dry or powdery after churning, create a small well in the center with a spoon and add 1 tablespoon of milk or cream. Replace the lid and press the “RE-SPIN” button for a smoother, creamier consistency.
- Add Mix-Ins: Using a spoon, make a well in the center of the churned ice cream to the bottom of the pint jar. Place the halved Oreo cookies into the well. Secure the lid and select the “MIX-IN” function on the Ninja Creami to evenly fold the cookies into the ice cream.
- Serve: Your Ninja Creami Cookies and Cream Ice Cream is ready to enjoy! Serve immediately for the best creamy texture and delightful cookie crunch.
Notes
- Do not overfill the pint container to ensure proper churning.
- Freezing the ice cream base for a full 24 hours is crucial for optimal texture.
- Adding milk or cream during the re-spin helps achieve the perfect creamy consistency if the ice cream is too firm.
- For a stronger cookie flavor, consider adding more Oreo cookies during the mix-in step.
- Store any leftovers in the freezer and allow a few minutes to soften before serving.
Keywords: Ninja Creami, Cookies and Cream Ice Cream, homemade ice cream, Oreo ice cream, easy ice cream recipe