Watermelon Mochi Recipe
Introduction
Watermelon mochi is a delightful and refreshing treat that combines the chewy texture of mochi with the sweet, juicy flavor of watermelon. Perfect for warm days or as a unique dessert, this recipe is simple and quick to make at home.
Ingredients
- 1 cup glutinous rice flour (also called mochiko)
- 3/4 cup fresh watermelon juice (blended and strained)
- 1/4 cup granulated sugar (adjust if watermelon is very sweet)
- As needed tbsp cornstarch or potato starch (for dusting)
Instructions
- Step 1: Prepare the watermelon juice by blending fresh watermelon and then straining it to remove any pulp.
- Step 2: In a bowl, whisk together the glutinous rice flour, granulated sugar, and fresh watermelon juice until the mixture is smooth and well combined.
- Step 3: Microwave the mixture for about 2 minutes, then stir and microwave again for another 1–2 minutes until the dough becomes glossy and sticky.
- Step 4: Dust your hands and workspace with cornstarch or potato starch to prevent sticking. Shape the mochi dough into small balls while it is still warm, then let them cool before serving.
Tips & Variations
- If fresh watermelon is not available, use good-quality watermelon juice or puree for similar flavor.
- Add a pinch of salt to balance sweetness if your watermelon juice is very sweet.
- Try filling the mochi with small pieces of fresh fruit or sweet red bean paste for extra texture and flavor.
- Use potato starch instead of cornstarch if you prefer a smoother finish on the mochi surface.
Storage
Store watermelon mochi in an airtight container at room temperature for up to one day, as mochi tends to harden over time. For longer storage, refrigerate for up to 2 days, but allow them to come to room temperature before eating. Avoid freezing as it can affect the texture.
How to Serve
Serve this delicious recipe with your favorite sides.
FAQs
Can I use watermelon juice from concentrate?
Yes, you can use watermelon juice from concentrate, but fresh juice provides the best flavor and sweetness. Adjust the sugar accordingly if using concentrate.
How do I know when the mochi dough is done cooking?
The mochi dough is ready when it turns glossy, sticky, and slightly translucent after microwaving. Stirring in between cooking helps to cook it evenly.
PrintWatermelon Mochi Recipe

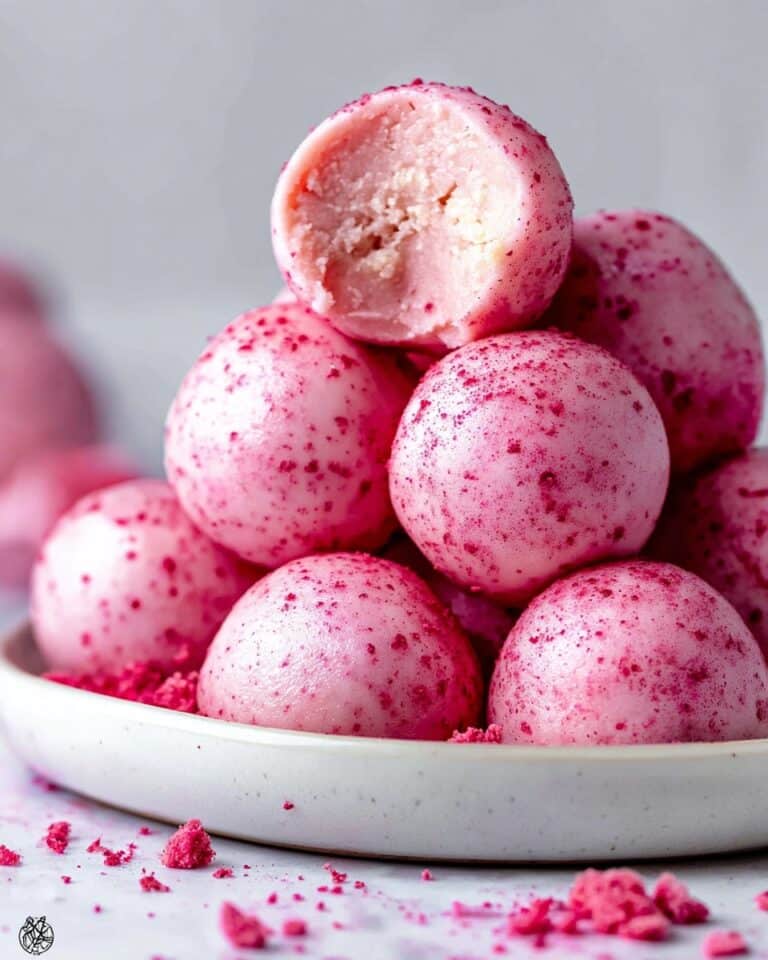
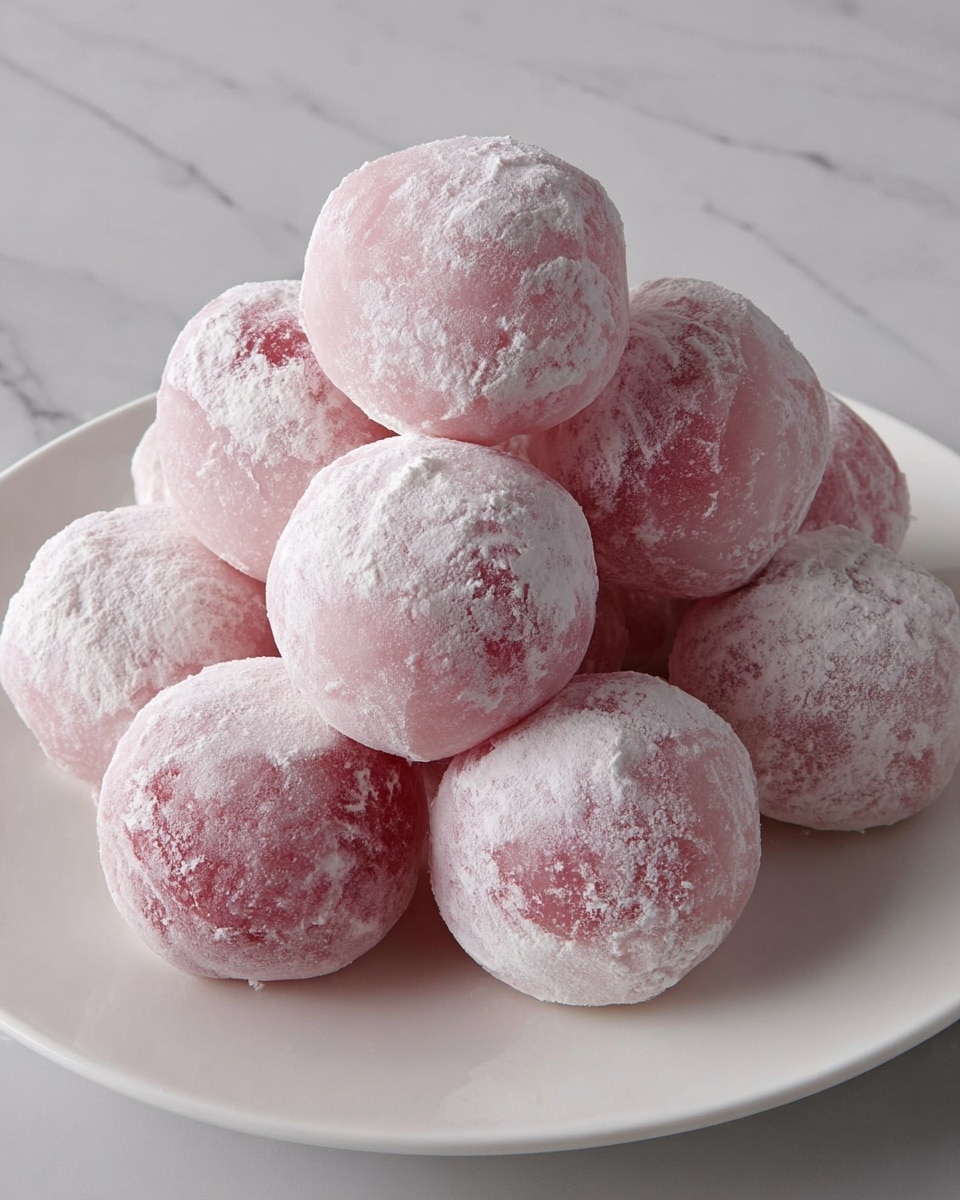
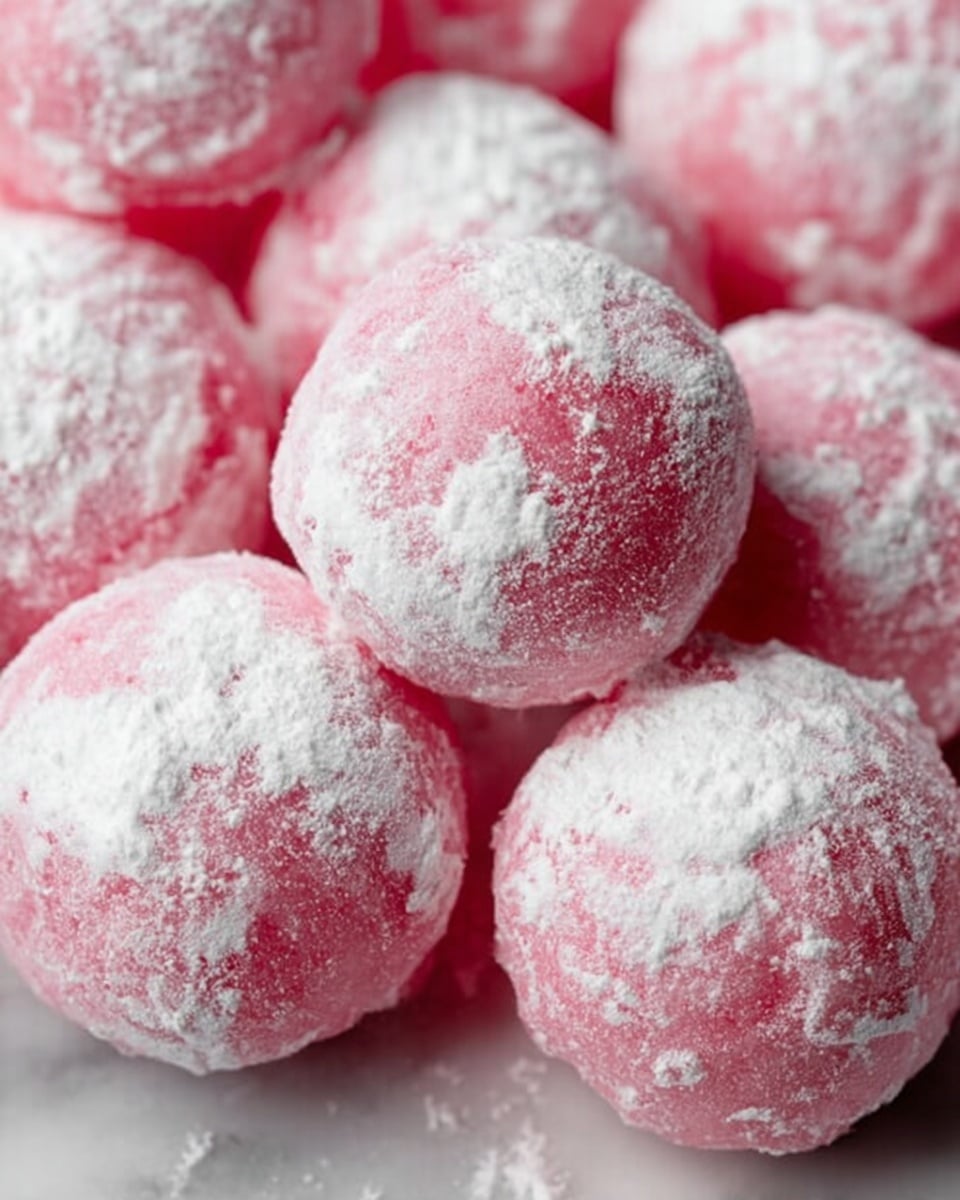
Watermelon Mochi is a delightful and chewy Japanese dessert made from glutinous rice flour and fresh watermelon juice. This vibrant pink treat combines the natural sweetness and refreshing flavor of watermelon with the classic chewy texture of mochi, making it a perfect summer dessert. The recipe involves blending and straining fresh watermelon juice, mixing it with mochiko and sugar, cooking the mixture until glossy in the microwave, and shaping it into dusted, bite-sized balls.
- Prep Time: 10 minutes
- Cook Time: 2 minutes
- Total Time: 12 minutes
- Yield: Approximately 12 small mochi pieces 1x
- Category: Dessert
- Method: Microwave
- Cuisine: Japanese
- Diet: Vegetarian
Ingredients
Watermelon Mochi Ingredients
- 1 cup Glutinous rice flour (Also called mochiko)
- 3/4 cup Fresh watermelon juice (Blended and strained juice)
- 1/4 cup Granulated sugar (Adjust if watermelon is sweet)
- As needed tbsp Cornstarch or potato starch (For dusting)
Instructions
- Juice: Begin by blending fresh watermelon chunks to extract juice. Use a blender to create a smooth puree, then strain the juice through a fine mesh sieve to remove pulp and seeds, ensuring a smooth liquid base for the mochi.
- Mix: In a mixing bowl, whisk together the glutinous rice flour, granulated sugar, and the freshly strained watermelon juice until the batter is smooth and free of lumps. Adjust sugar quantity based on the sweetness of the watermelon to maintain balanced flavor.
- Cook: Transfer the batter to a microwave-safe bowl. Microwave the mixture on high in 30-second intervals, stirring well between each interval, until the mochi dough becomes shiny, glossy, and slightly translucent. This process usually takes about 1.5 to 2 minutes total.
- Shape: Dust a clean work surface and your hands lightly with cornstarch or potato starch to prevent sticking. Once the cooked mochi dough is cool enough to handle yet still warm, pull off small portions and shape them into smooth, round balls or discs. Dust each piece with extra starch to keep them from sticking together.
Notes
- Use ripe, sweet watermelon for the best flavor in your mochi.
- If you don’t have a microwave, you can cook the mixture on the stovetop over low heat while stirring continuously until it thickens and becomes glossy.
- Adjust sugar to taste depending on watermelon sweetness and personal preference.
- Keep your hands and surface well dusted with starch to prevent the mochi from sticking.
- Store leftovers in an airtight container at room temperature and consume within one day for the best texture.
Keywords: Watermelon mochi, mochi dessert, glutinous rice flour dessert, Japanese sweets, summer treats