Cheesy Pinto Beans Recipe
Introduction
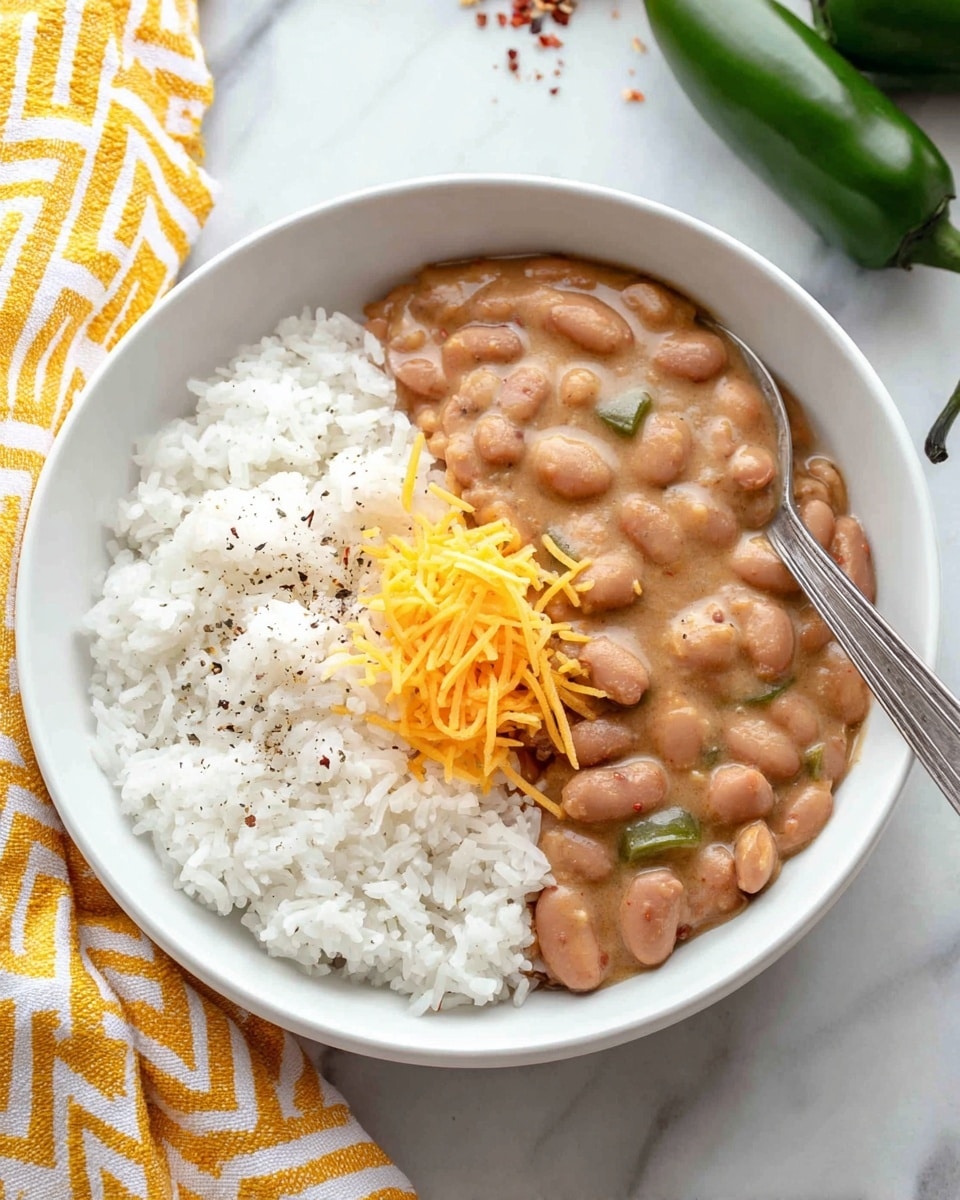
Cheesy Pinto Beans are a flavorful, comforting side dish that combines creamy beans with melted cheddar and a hint of spice. This easy recipe is perfect for adding a delicious twist to classic pinto beans, ideal for serving alongside rice or your favorite main course.
Ingredients
- 2 cloves garlic
- 1 jalapeño (optional)
- 1 Tbsp cooking oil
- 2 15oz. cans pinto beans
- 1/4 tsp smoked paprika
- 1/4 tsp ground cumin
- 1/8 tsp freshly cracked black pepper
- 2 dashes hot sauce
- 1/2 cup shredded cheddar cheese
Instructions
- Step 1: Mince the garlic and finely dice the jalapeño, removing the stem and seeds if you prefer less heat.
- Step 2: Heat the cooking oil in a pot over medium heat. Add the garlic and jalapeño and sauté for about one minute until the garlic is very fragrant.
- Step 3: Pour one can of pinto beans, including the liquid, into a blender and purée until smooth.
- Step 4: Add the puréed beans and the second can of drained beans to the pot with the garlic and jalapeño. Stir to combine.
- Step 5: Season the beans with smoked paprika, cumin, black pepper, and hot sauce. Stir well and heat through over medium heat, stirring occasionally.
- Step 6: Remove from heat and stir in the shredded cheddar cheese until it melts smoothly into the beans. Adjust the seasoning to taste and serve warm.
Tips & Variations
- For a creamier texture, purée both cans of beans before adding to the pot.
- Add a squeeze of lime juice or chopped fresh cilantro for a fresh finishing touch.
- Swap cheddar for Monterey Jack or pepper jack cheese for a different flavor.
- Skip the jalapeño for a milder dish or add an extra one for more spice.
Storage
Store leftover cheesy pinto beans in an airtight container in the refrigerator for up to 4 days. Reheat gently on the stove or in the microwave, stirring occasionally to keep the cheese melted and creamy.
How to Serve
Serve this delicious recipe with your favorite sides.
FAQs
Can I use dried pinto beans instead of canned?
Yes, but be sure to soak and cook the dried beans thoroughly before starting the recipe. This will take longer but works well for a homemade touch.
What can I serve with cheesy pinto beans?
They pair wonderfully with rice, tortillas, grilled meats, or as a topping for nachos and baked potatoes.
PrintCheesy Pinto Beans Recipe

Cheesy Pinto Beans is a quick and flavorful vegetarian side dish featuring sautéed garlic and jalapeño, blended and whole pinto beans, seasoned with smoked paprika, cumin, and hot sauce, then enriched with melted cheddar cheese for a creamy texture. Perfect as a hearty side or topping over rice.
- Prep Time: 10 minutes
- Cook Time: 15 minutes
- Total Time: 25 minutes
- Yield: 4 servings 1x
- Category: Side Dish
- Method: Stovetop
- Cuisine: Mexican
- Diet: Vegetarian
Ingredients
Main Ingredients
- 2 cloves garlic
- 1 jalapeño (optional)
- 1 Tbsp cooking oil
- 2 15oz cans pinto beans*
- 1/4 tsp smoked paprika
- 1/4 tsp ground cumin
- 1/8 tsp freshly cracked black pepper
- 2 dashes hot sauce
- 1/2 cup shredded cheddar cheese
Instructions
- Prepare Aromatics: Mince the garlic cloves finely and dice the jalapeño after removing the stem and seeds to control heat.
- Sauté Aromatics: Heat the cooking oil in a pot over medium heat, then add the minced garlic and diced jalapeño. Sauté for about one minute or until the garlic releases a fragrant aroma, being careful not to burn it.
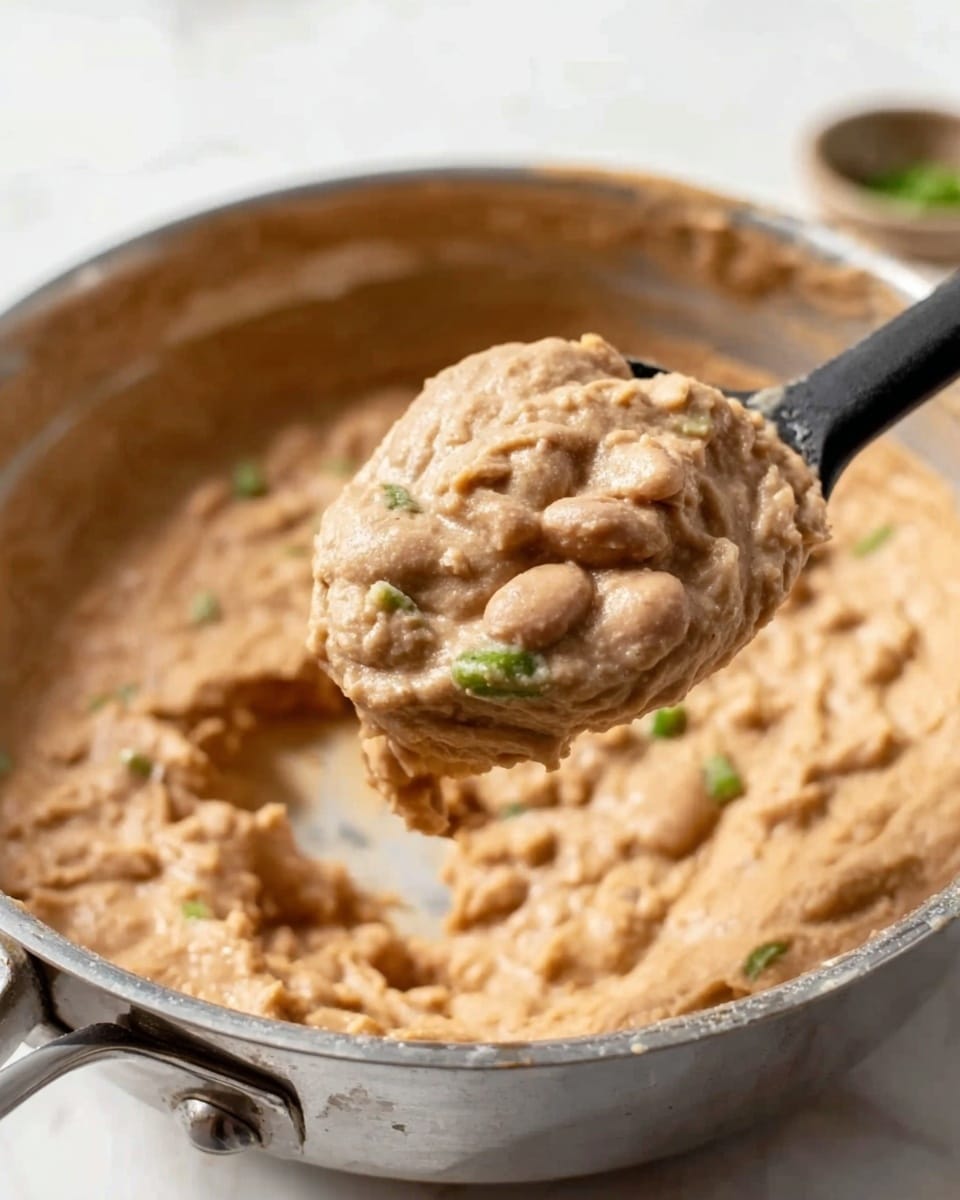
- Puree Beans: Pour one can of pinto beans, including the liquid, into a blender and puree until smooth to create a creamy base for the dish.
- Combine Beans: Add the pureed beans along with the drained second can of whole pinto beans into the pot with the sautéed garlic and jalapeño. Stir well to combine all ingredients.
- Season and Heat: Add smoked paprika, ground cumin, freshly cracked black pepper, and hot sauce to the pot. Stir well and continue to heat over medium heat, stirring occasionally to prevent sticking, until the beans are heated through and well seasoned.
- Add Cheese: Sprinkle shredded cheddar cheese over the beans and stir continuously until the cheese has fully melted into the mixture, creating a smooth, cheesy texture.
- Serve: Taste and adjust seasoning as needed. Serve the cheesy pinto beans hot over rice or alongside your favorite meal for a comforting and tasty addition.
Notes
- Removing seeds from jalapeño reduces heat if you prefer milder beans.
- Sautéing garlic briefly prevents bitterness and enhances flavor.
- Pureeing half the beans adds creaminess while keeping texture from the whole beans.
- Use preferred hot sauce to adjust spice level.
- This dish pairs well with rice, tortillas, or as a side to grilled meats.
- Can be made gluten-free and vegetarian by selecting appropriate hot sauce and cheese options.
Keywords: cheesy pinto beans, pinto beans recipe, cheesy beans, Mexican side dish, vegetarian beans, easy bean recipe, quick side dish